
I've seen some beautiful pictures of Mickey Mouse pomanders (or kissing balls or flower balls as some people like to call them) on the Disney wedding boards and blogs. I wasn't crazy about any flower girl baskets that I saw and wanted to do something a little different. My wedding doesn't have a ton of Disney things (who am I kidding though, my Disney touches are growing by the day!), so I thought a hidden Mickey at my ceremony would be very cute.
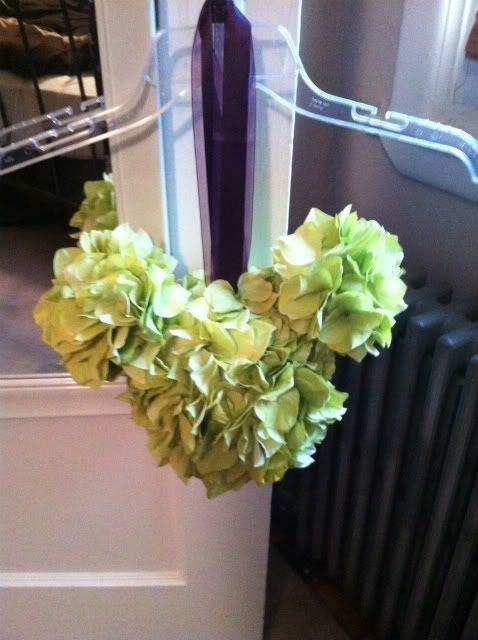
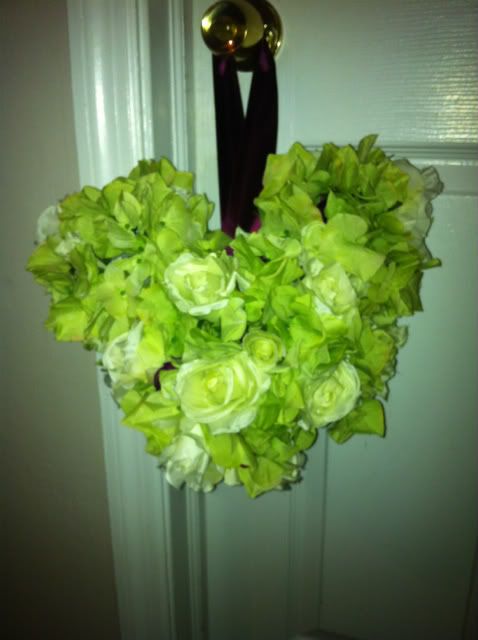
I'll start by posting a picture of the finished product
Supplies you will need:
- Three foam balls. I used a 6" ball for the head and two-3 inch balls for the ears. I got the 6 inch ball from Hobby Lobby and the 3 inch balls from Afloral
- Silk flowers in your wedding colors (I used hydrangea in my final project and got them from http://www.afloral.com/). I suggest purchasing bushes or bouquets of flowers rather than individual stems - it is more cost effective. I'd say I used about 16 hydrangea "blooms" to cover my head.
- Wide satin ribbon
- Greening/Ferning pins like these
- Toothpicks
- Wire cutters
- Scissors
- A low temperature hot glue gun (basically a small, craft glue gun)
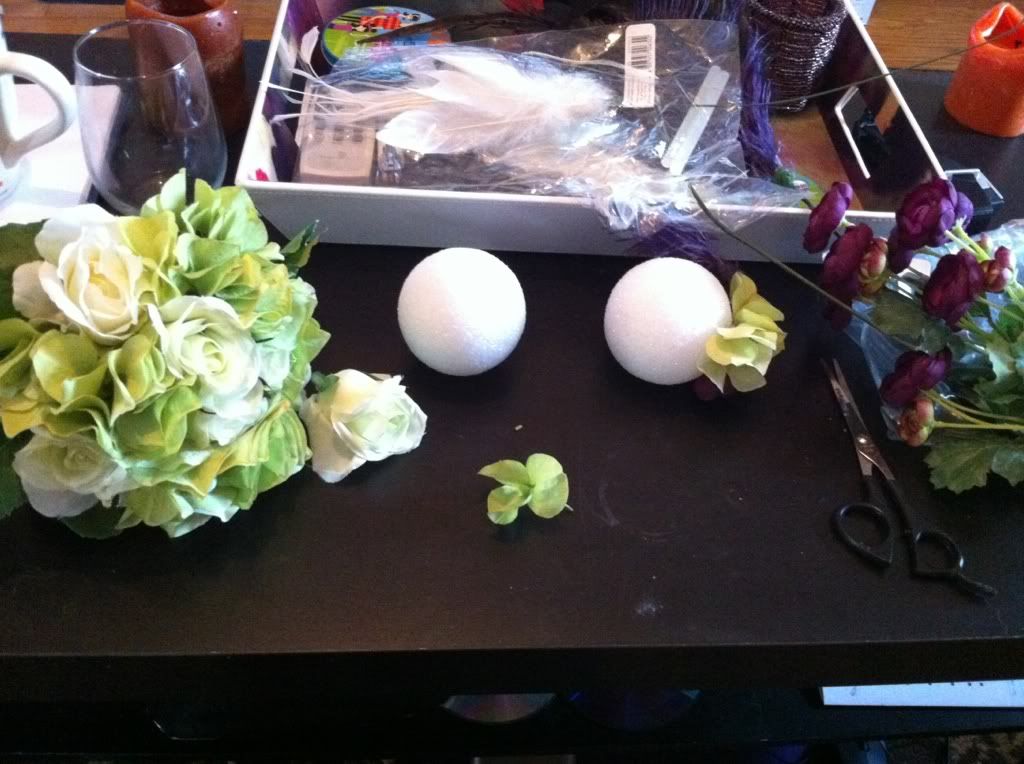 |
| Some of my supplies |
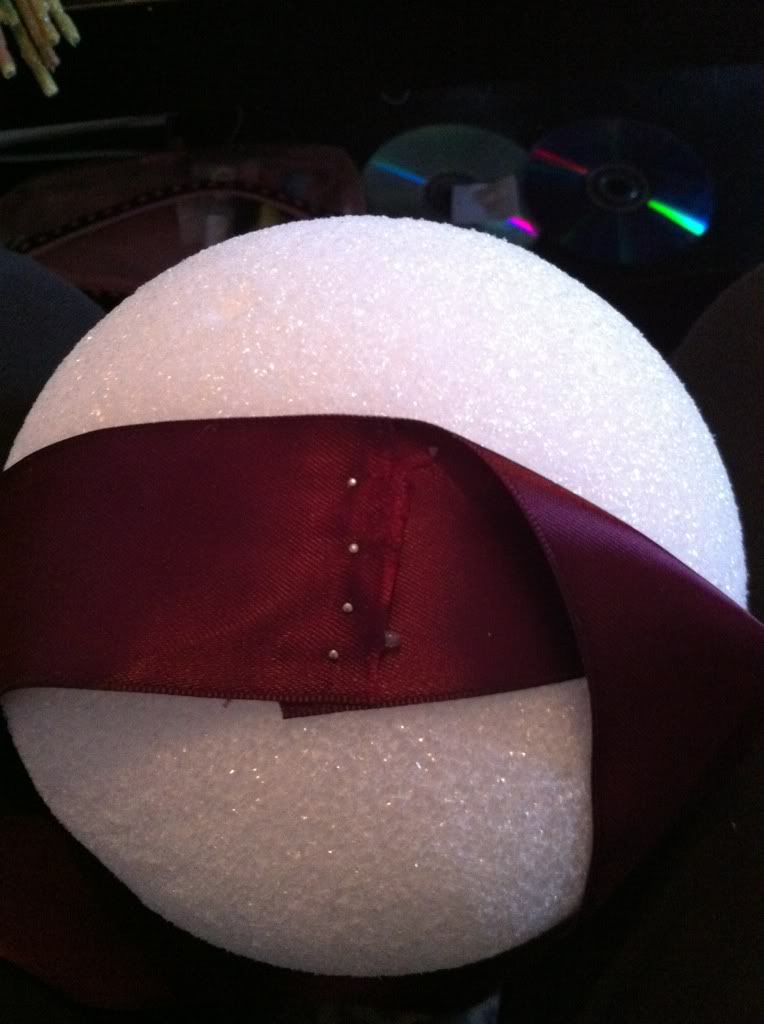 |
| Not the final pins I used but you get the idea |
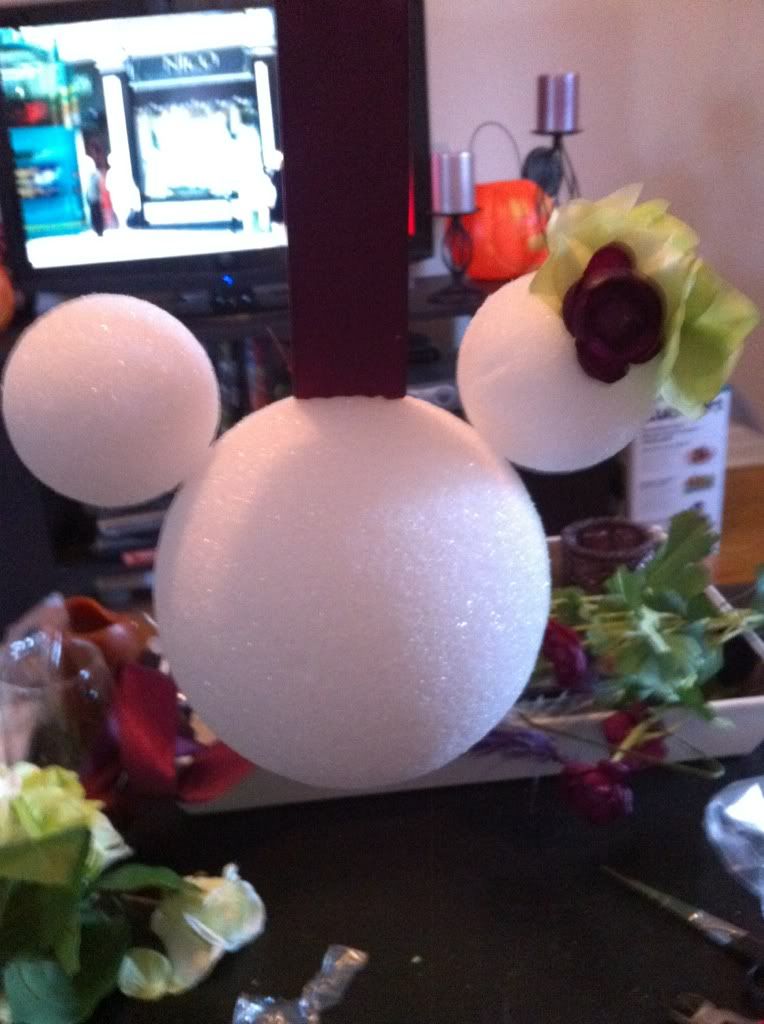
Then its time to start adding your flowers to the balls. You'll use the wire cutters to cut the flowers from your bush/bouquet. This is where I went horribly wrong the first time around. As you'll see from my supplies picture, I ordered bouquets from afloral that consisted of roses and hydrangea. As I inserted the roses into the balls, they stuck out by a few inches, thus making my head very large and very fluffy. I attached the hydrangea in bunches so they were the same height as the roses, and the end result was extremely heavy (and therefore extremely unstable), large, fluffy, and resembled a heart shaped blob rather than a Mickey.
 |
| The evidence |
I decided not to use the roses at all - they were too large and I needed my flowers to sit closer to the ball so I didn't get a blob. I cut off each individual flower from the hydrangea bunches, leaving about a half an inch of stem.
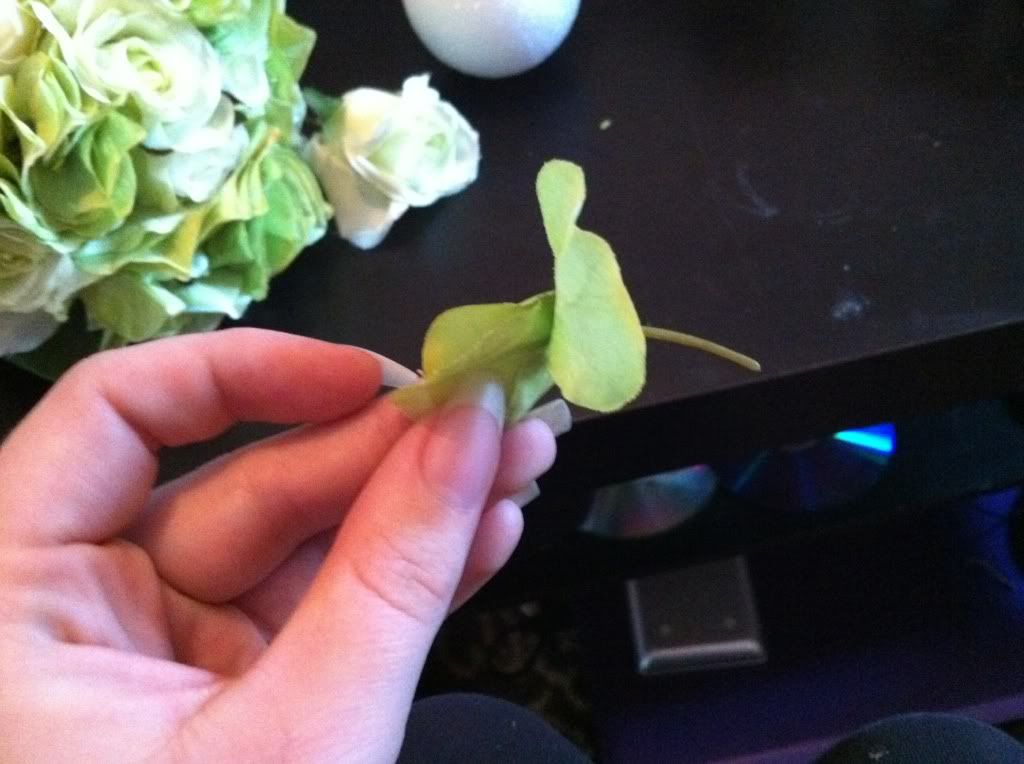
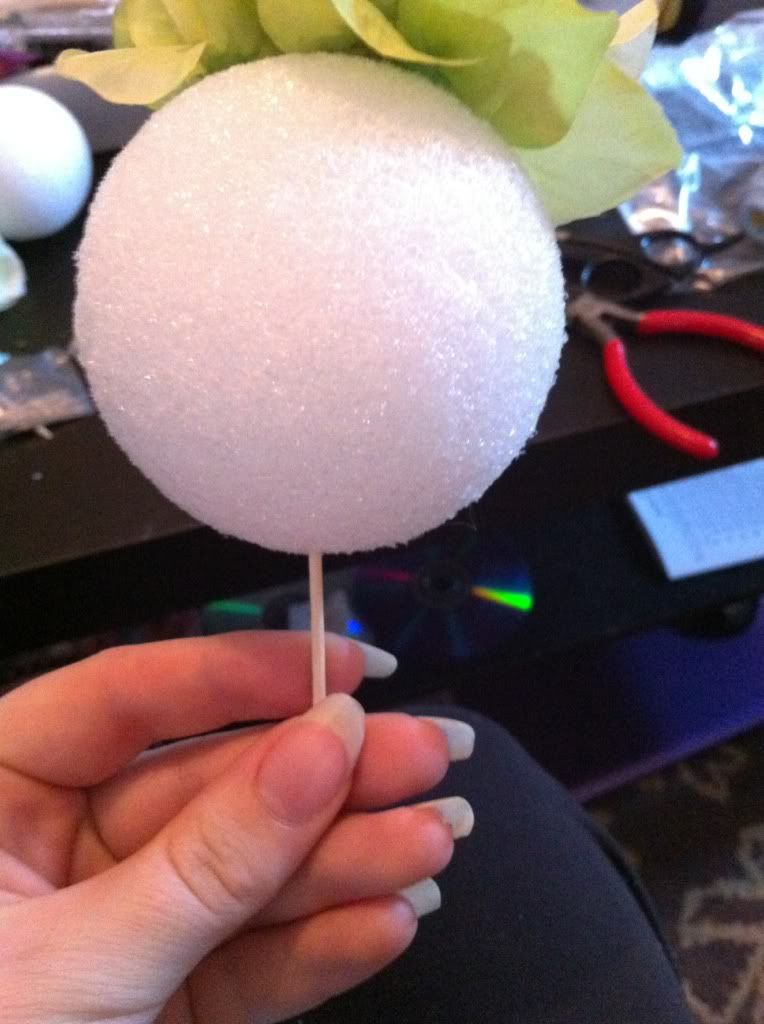
I then took one of my toothpicks, poked a hole in the ball, and inserted the stem. Most of the time, I didn't need to reinforce it with glue as the bottoms of the flowers had a thicker piece of plastic that attached the stem to the flower that anchored it in the ball. If the flower felt loose, I squeezed a little bit of hot glue underneath it.
I found it useful to pick up the larger flowers and spread them out over the ball, then fill in with the smaller blooms. In the end, here was my final product. I wish I had two different colors of hydrangea (white and green like it was when it was roses and hydrangea), but I had already spent so much money on floral that I didn't want to buy any more.
You'll want to store your pomander by hanging it until your wedding or your flowers will flatten out.
Love it Wendy! Thanks for sharing!
ReplyDeleteAwesome! Bookmarked this!
ReplyDeleteLooks great Wendy! This has given me the confidence to try making a Mickey Pomander :) Thank you!
ReplyDelete